# Setup on Your Project
# Project Setup
# Configure Maven
To add Vue GWT to your Maven project, simply add the following to your pom.xml:
<project>
    <dependencies>
        ...
        <dependency>
            <groupId>com.axellience</groupId>
            <artifactId>vue-gwt</artifactId>
            <version>1.0.0</version>
        </dependency>
        <!-- Annotation Processors for Vue GWT -->
        <dependency>
            <groupId>com.axellience</groupId>
            <artifactId>vue-gwt-processors</artifactId>
            <version>1.0.0</version>
            <optional>true</optional>
        </dependency>
    </dependencies>
</project>
WARNING
Starting 1.0.0, Vue GWT has been tested with GWT 2.9.0.
# Configure Annotation Processing
Vue GWT uses Java Annotation processing under the hood, this requires a little configuration.
First, in the plugins section of your Maven pom.xml add the following plugin:
<project>
    <plugins>
        ...
        <plugin>
            <groupId>org.apache.maven.plugins</groupId>
            <artifactId>maven-compiler-plugin</artifactId>
            <version>3.3</version>
            <configuration>
                <compilerArgument>-parameters</compilerArgument>
                <testCompilerArgument>-parameters</testCompilerArgument>
                <useIncrementalCompilation>false</useIncrementalCompilation>
                <source>1.8</source>
                <target>1.8</target>
            </configuration>
        </plugin>
    </plugins>
</project>
Then add this to expose templates to the annotation processor:
<build>
    <resources>
        <resource>
            <directory>src/main/java</directory>
        </resource>
    </resources>
</build>
# Configure JsInterop
Vue GWT relies heavily on GWT JsInterop.
It is not enabled by default in GWT, so you must enable it in your SuperDevMode and Maven configurations.
# SuperDevMode
For SuperDevMode, simply add this flag to your devMode parameters:
-generateJsInteropExports
# Maven
For Maven, if you use GWT Maven Plugin, add the following to your pom.xml:
<plugins>
    <!-- Mojo's Maven Plugin for GWT -->
    <plugin>
        ...
        <configuration>
            ...
            <generateJsInteropExports>true</generateJsInteropExports>
        </configuration>
    </plugin>
</plugins>
# Configure Your GWT App
# Add the Module Dependency
You must add Vue GWT dependency in your module .gwt.xml file:
<inherits name='com.axellience.vuegwt.VueGWT'/>
# Bootstrap Vue GWT
In your application EntryPoint class, add this on top of the onModuleLoad() method:
VueGWT.init();
This will inject Vue.js in your app, and init Vue GWT.
If you already have Vue.js included and you don't Vue GWT to inject it for you, you can call this instead:
VueGWT.initWithoutVueLib();
# Configure your IDE
# IntelliJ
# Vue GWT IntelliJ Plugin
First, install the IntelliJ Vue GWT Plugin. This will make IntelliJ re-process your Components templates when you save them.
You can find it in your IDE in Preferences > Plugins > Browse Repositories... > Vue GWT.
# Enable Auto Build
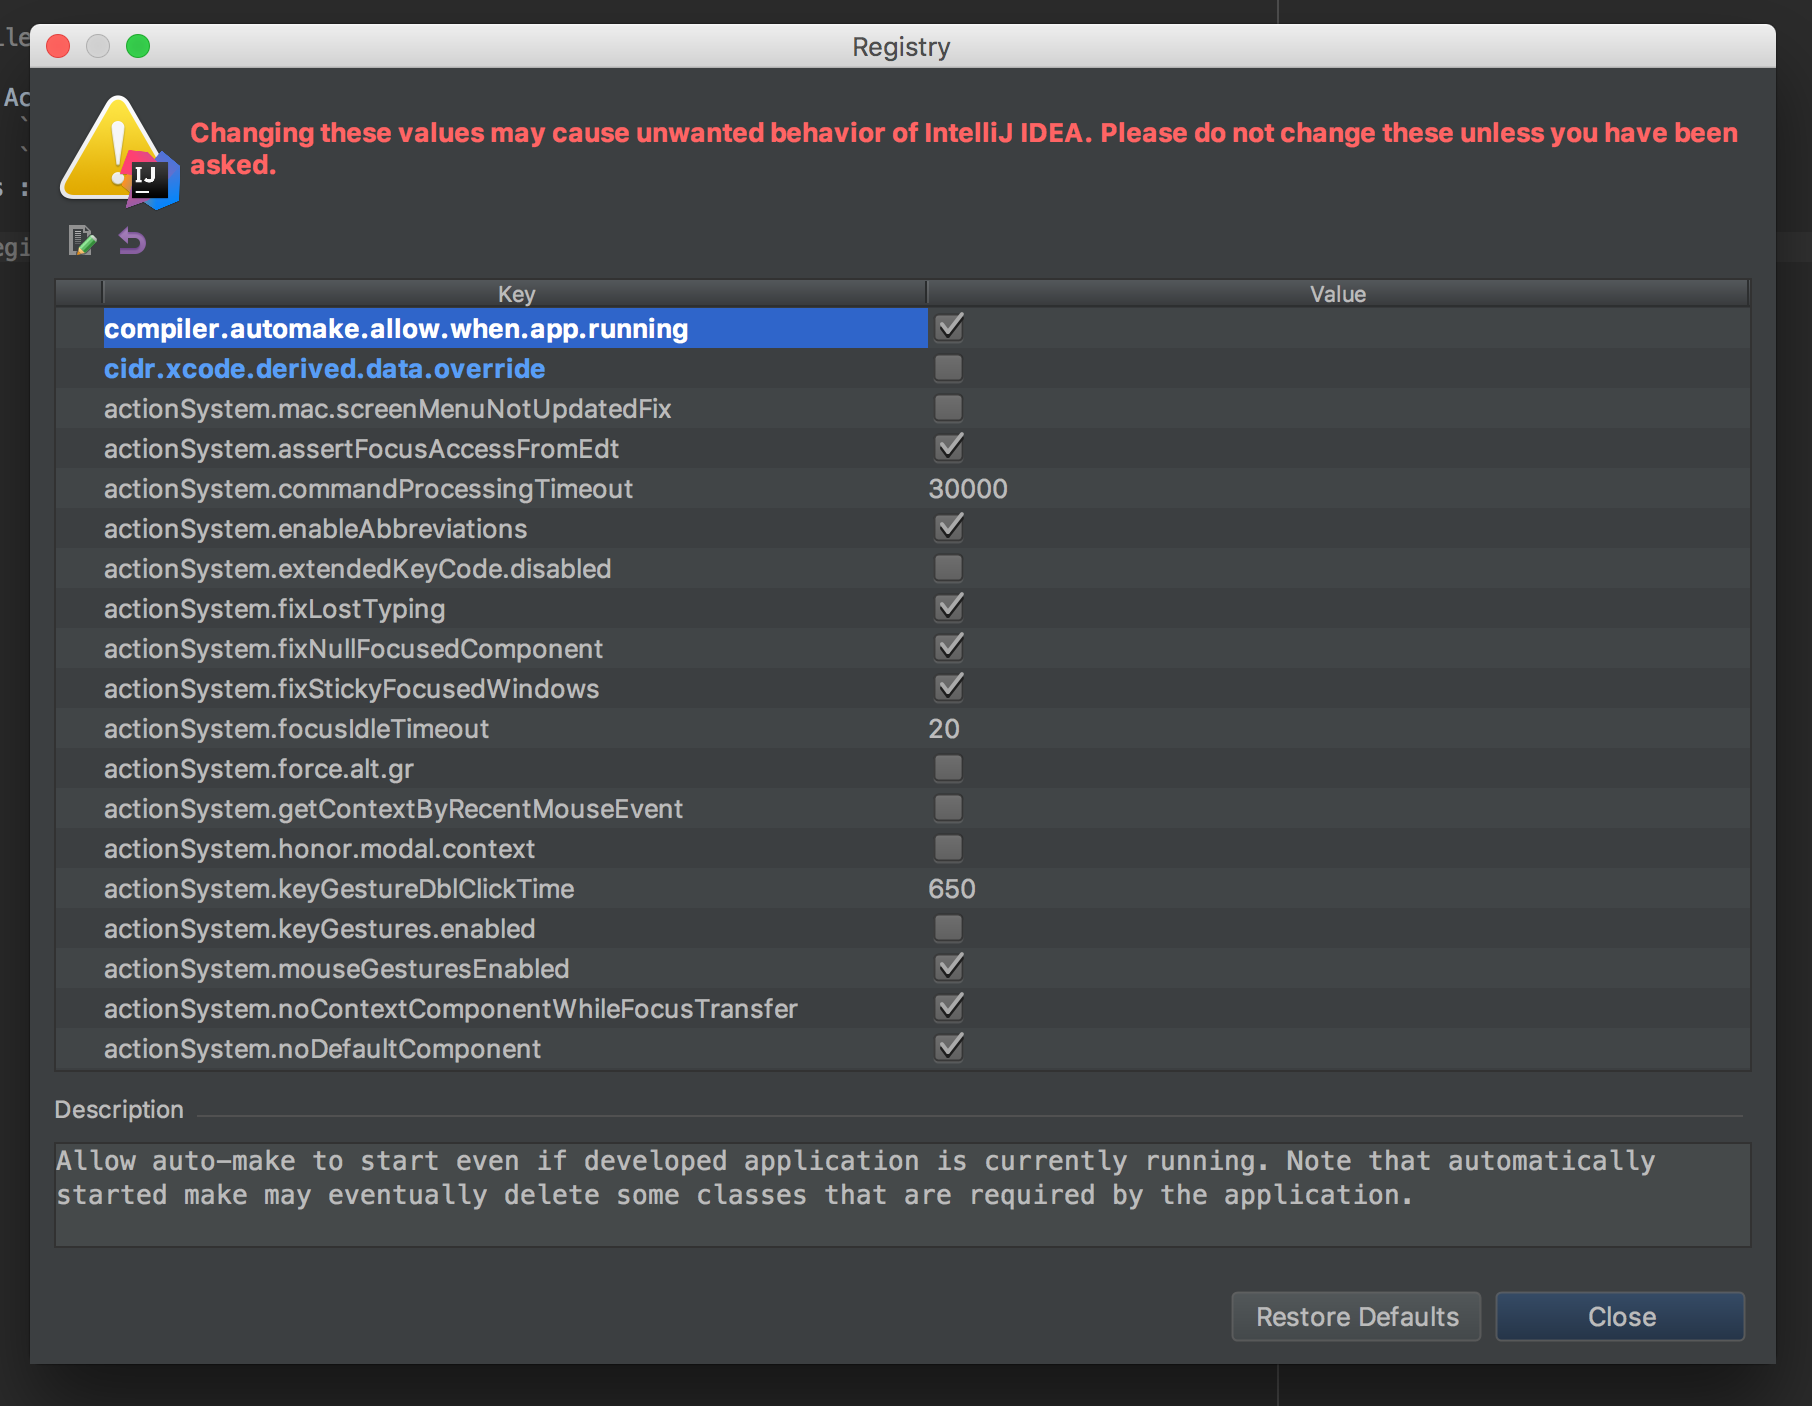
By default IntelliJ doesn't support automatic annotation processing when the app is running. But don't worry, enabling it is easy!
Go to File -> Settings -> Build, Execution, Deployment -> Compiler and enable “Make project automatically”
Open the Action window :
- Linux :
CTRL+SHIFT+A - MacOS :
SHIFT+COMMAND+A - Windows :
CTRL+ALT+SHIFT+/
Enter Registry... and enable compiler.automake.allow.when.app.running.
Congratulation, you are good to go! Let's start using Vue GWT
# Eclipse
# Vue GWT Eclipse Plugin
First, install the Vue GWT Eclipse Plugin. This will make Eclipse re-process your Components templates when you save them.
To install, just drag and drop the following button on your Eclipse window:

# Make Eclipse find your Templates
Because of the resources block in the pom.xml, Eclipse automatically adds a rule to ignore files in src/main/java.
This will throw an error that your templates cannot be found.
To fix this, the easiest way is placing the resources block from your pom.xml in a profile that will only be enabled when not in Eclipse.
So remove this block that you added in the project setup:
<resources>
    <resource>
        <directory>src/main/java</directory>
    </resource>
</resources>
And add this block instead:
<profiles>
	<profile>
		<id>vue-gwt-resources</id>
		<activation>
			<property>
				<name>!m2e.version</name>
			</property>
		</activation>
		<build>
			<resources>
				<resource>
					<directory>src/main/java</directory>
				</resource>
			</resources>
		</build>
	</profile>
</profiles>
WARNING
Adding this profile will disable your default Maven profiles if you have any.
So you will have to add -PmyDefaultProfile when compiling in command line.
# Annotation Processing
We then need to enable Annotation Processing on Eclipse.
First install the m2e-apt plugin:
https://marketplace.eclipse.org/content/m2e-apt.
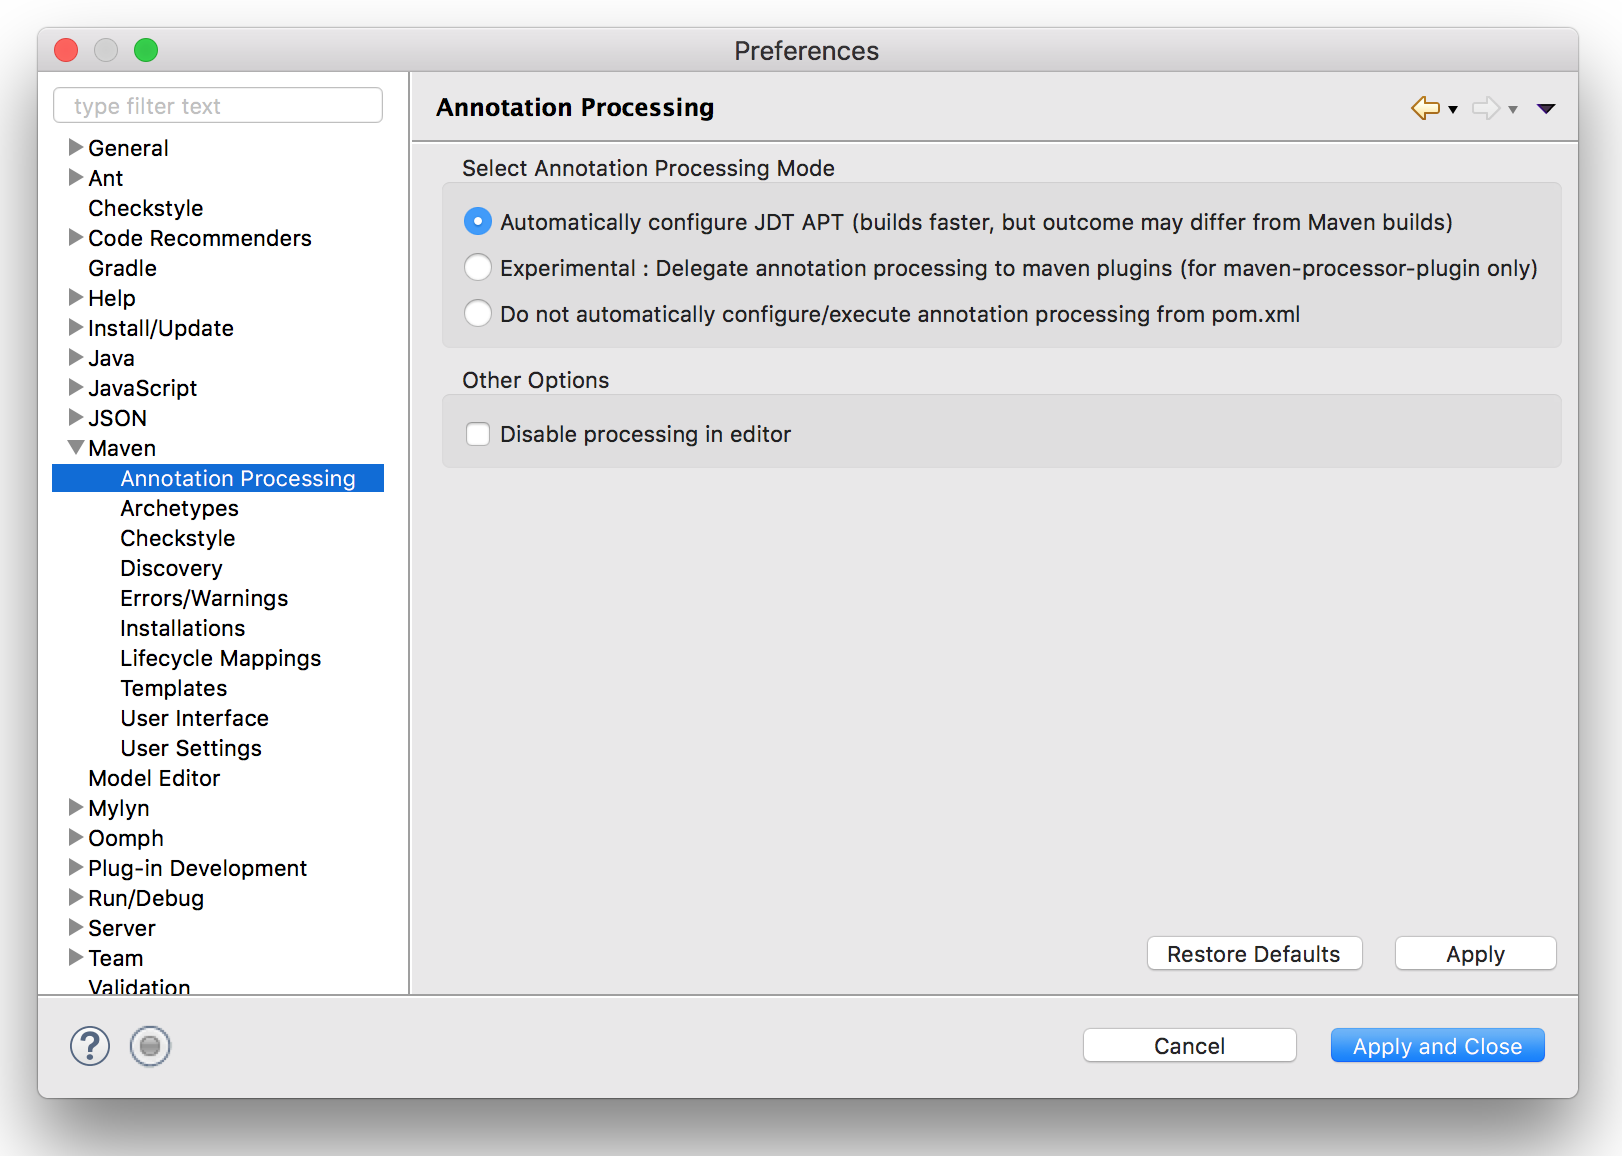
Then you need to enable annotation processing for your project in the m2e-apt project settings:
Congratulation, you are good to go! Let's start using Vue GWT
# NetBeans
Feedback for Vue GWT on NetBeans welcome.